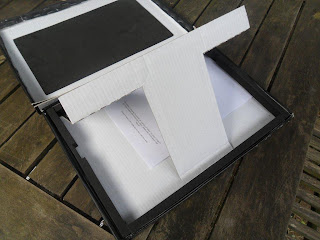
Here are the steps I followed and of course the result: (it would be nice to cover it with a nice material like leather or something, and just leaving the logo)
The original box
See how fat it is!
Keep the original protective padding
Open the sides
Tape the connections and draw Adam profile-lines
this line will be the new folding line: the rest has to be cut away after folding
Do this for all the sides and glue them back or use double sided tape
Now the stand: it has to be slightly adapted to fold in between the protective padding: narrowing the sides


Now attach the padding with double-sided tape . Let it follow the upperside of the box
The result!
Do the same with the cover: make it thinner by refolding it following the profile of the under-box
et voilà!


I wish I could've seen this before I threw away my Adam box. Absolute genius.
ReplyDeleteSo cool! Made it myself today and it's very sturdy. You do need quite some "folding power" (*my poor fingers*) to get it to stay down and look pretty. ;)
ReplyDeleteNice to have something whilst waiting for an adamant case. As Robert said, Genius Idea!!! :D
I wish I could have seen this before I threw away my Adam box. Absolute genius.
ReplyDeleteNotebook Mice Review